The best mountain views are not stumbled upon. They are engineered through deliberate timing, thoughtful architecture, and landscaping that frames scenery rather than blocks it. Whether you are pointing a camera at a ridge at dawn or designing an outdoor living space that faces a peak, the same principle applies: maximizing mountain views means controlling what you see, when you see it, and how it hits you emotionally. This guide covers the full picture, from camera settings and alpenglow timing to open floor plans, infinity pools, and lighting strategies that preserve the drama after dark.
How to maximize mountain views with photography
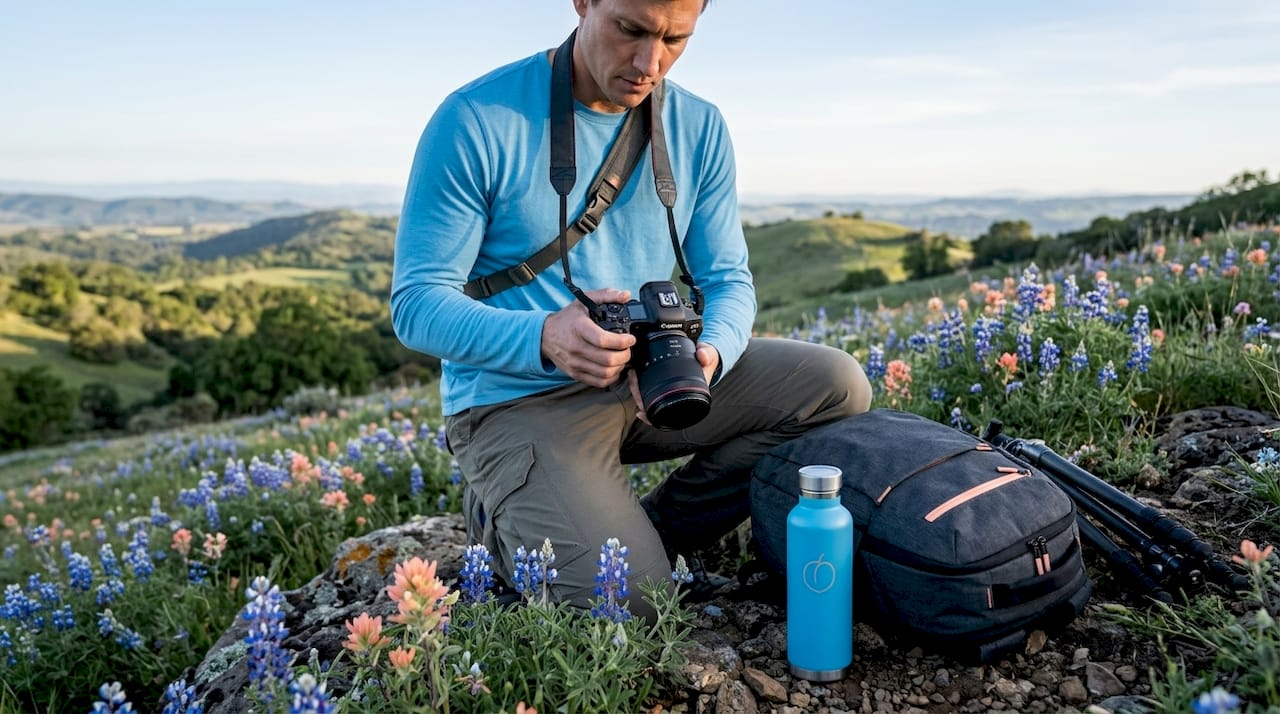
Mountain photography success depends more on planning than on camera gear. Weather, timing, and composition carry more weight than megapixels or lens brand. The photographers who consistently produce striking mountain images are the ones who arrive before anyone else and leave after the light is gone.
Timing is everything: alpenglow and golden hour
The single most important decision you make is when to show up. Alpenglow requires arriving at least 45 minutes before sunrise because the optimal color window lasts only 7 to 20 minutes. Miss that window and you are shooting flat gray rock instead of peaks lit in amber and rose. Golden hour in the evening offers a longer window but softer contrast, making it better for wide valley compositions than tight summit shots.
Pro Tip: Set a weather app like Mountain Forecast or Windy to alert you when high pressure is building. Clear skies after a storm produce the sharpest air and the most saturated alpenglow colors.
Camera settings for sharp, deep mountain shots
The technical setup for mountain photography is straightforward once you understand why each setting exists.
| Gear or Setting | Recommended Value | Why It Matters |
|---|---|---|
| Aperture | f/8 to f/11 | Maximizes depth of field across foreground and peaks |
| ISO | 100 (base) | Keeps noise low in bright alpine conditions |
| Focus method | Hyperfocal distance | Keeps near and far elements sharp simultaneously |
| Tripod | Carbon fiber preferred | Eliminates camera shake in low light and wind |
| Lens for wide vistas | 16mm to 35mm | Captures full ridge lines and sky in one frame |
| Lens for compression | 70mm to 200mm | Stacks distant peaks for dramatic layering effect |
| Filter | Circular polarizer | Reduces haze, deepens sky tones, sharpens ridges |
A circular polarizer reduces haze by filtering scattered light from moisture and dust in the atmosphere. Rotate the filter until the sky deepens without creating unnatural gradients across the frame. This single piece of glass does more for mountain clarity than any post-processing adjustment.
One insight that separates good mountain photographers from great ones: the peak is not your subject. The subject is the light interaction on the peak and the foreground together. A dark, textured foreground of boulders or wildflowers creates the depth that makes a viewer feel like they are standing inside the scene rather than looking at a postcard.
In post-processing, tonal distribution creates perceived depth by darkening foregrounds slightly and lifting mid-ground tones gradually. Apply these adjustments locally with a gradient mask rather than globally, or the entire image shifts and the depth effect disappears.
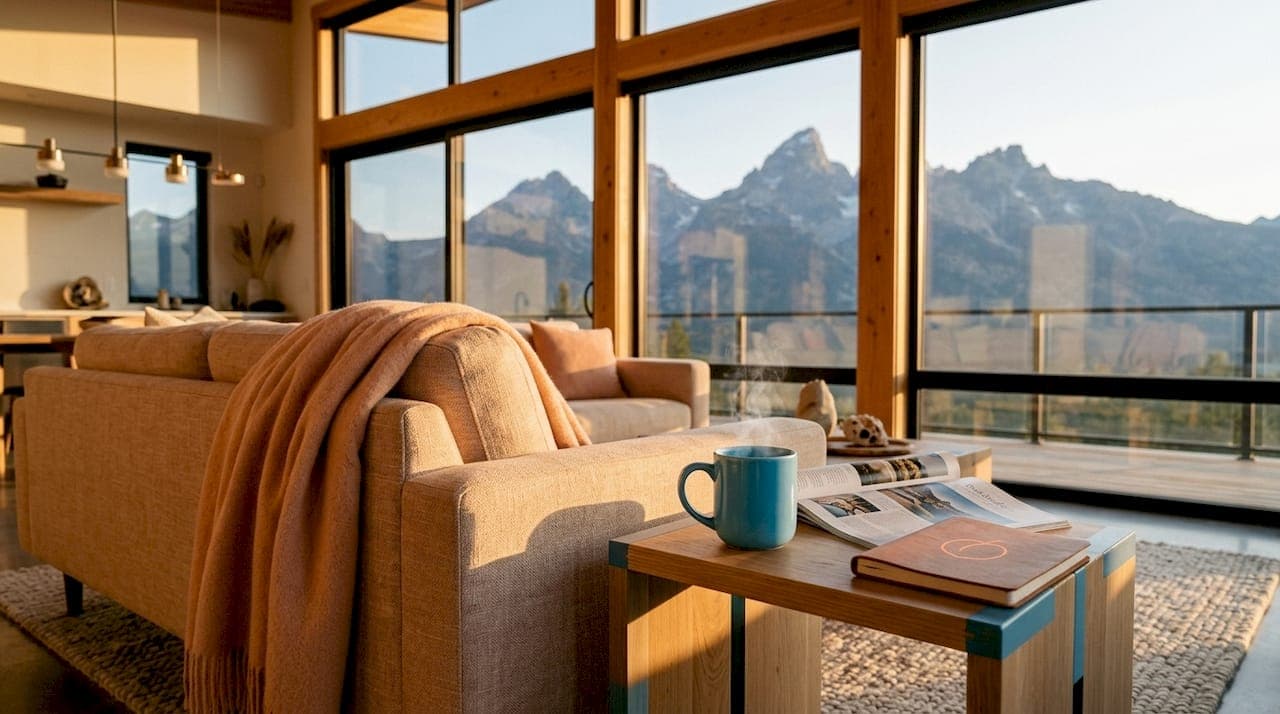
What home design strategies best maximize mountain views
Architecture that works with mountain scenery does not try to compete with it. The most effective approach is selective framing combined with a gradual reveal sequence that controls when and how a view appears as you move through a home.
Open floor plans and large windows
Unobstructed sightlines from inside a home require open floor plans and floor-to-ceiling glass. Walls that interrupt the interior create visual dead ends that break the connection between living space and landscape. The goal is a continuous visual path from the entry of a home to the mountain beyond it. Sliding glass doors that pocket into walls, rather than swing open, keep the transition between indoors and outdoors as clean as possible.
Selective framing and the sequence of reveal
Homes broken into smaller volumes and stepped into hillsides reduce visual mass and create intentional vistas from multiple points. Rather than exposing the full panorama from every room, skilled architects design a staged reveal of views that moves guests through a sequence of partial glimpses before delivering the full scene. This approach makes the view feel earned rather than ordinary.
Pro Tip: Before finalizing any design, assess sun angles at different times of year, prevailing wind direction, and neighbor sightlines. A view that is stunning in December can be washed out by glare in June if the glazing orientation is wrong.
Key design principles for mountain-view homes:
- Use natural, regional materials like stone and timber to soften the architectural form against the landscape
- Design multiple rooms facing the view so the experience is not limited to one space
- Consider green roofs or planted terraces to visually connect the roofline with the surrounding terrain
- Avoid large overhangs that block sky views from seated positions inside
- Step terraces down the slope rather than building a single flat platform that reads as a foreign object on the hillside
The contrast between a framed view through a carefully positioned window and a full panorama through a glass wall is the difference between a painting and a theater screen. Both have their place, but sequencing outdoor and indoor spaces as a series of reveal moments prevents the visual overwhelm that makes constant exposure feel ordinary over time.
How to enhance mountain views through landscaping
Landscaping for a mountain view lot is not about clearing everything in sight. Maximizing views means enhancing the experience with framing and depth that creates emotional impact. A bare, unplanted slope in front of a mountain view is visually flat. The same slope with a sculptural olive tree in the foreground and a low stone wall at the edge becomes a composition.
Framing with plants, structures, and water
Specimen trees placed at the edges of a view corridor act as natural brackets. They give the eye a starting point and direct attention toward the mountain rather than letting it wander. Sculptural plantings with strong vertical or horizontal forms work better than dense, bushy shrubs that creep into the sightline. Creating multiple outdoor destinations like patios, fire pits, and garden seating areas gives you distinct, framed relationships to the scenery from different elevations and angles across the property.
Infinity pools are the most effective water feature for mountain view lots. The vanishing edge visually extends the horizontal plane toward the peaks, making the water appear to merge with the landscape beyond. This effect works best when the pool deck sits slightly above the surrounding grade so the water line aligns with the distant ridgeline.
Lighting strategy for night views
Lighting is where most view-lot designs fail. Lighting near glass fencing creates glare and reflections that destroy the view after dark. The fix is simple: keep light sources low, aimed at gathering areas, and away from any transparent or reflective surface. Outer edges should remain dim to preserve the visual drama of distant city lights and stars. A dark perimeter makes the mountain horizon feel infinite rather than fenced.
Landscaping do's and don'ts for view lots:
- Do use low, horizontal plantings along view corridors to add depth without height
- Do position fire features and seating to face the primary view axis
- Do use warm, low-voltage lighting aimed downward at gathering zones
- Don't plant fast-growing trees directly in front of the primary view window
- Don't install up-lighting near glass walls or fencing
- Don't use uniform perimeter lighting that flattens the sense of depth at night
How does combining all three approaches create the best experience?
Photography, architecture, and landscaping each improve a mountain view independently. Together, they create something qualitatively different: a lifestyle built around the view rather than one that occasionally notices it.
Timing your outdoor activities to golden hour does double duty. You get the best light for photography and the most dramatic visual experience from your terrace or fire pit. Coordinating indoor and outdoor spaces for fluid movement means you can shift from a wide-angle shot on the lower patio to a compressed telephoto composition from the upper deck without losing the moment. The ideal spots for mountain views are rarely the most obvious ones. They are the spots you discover by moving through a well-designed sequence of spaces.
| Strategy | Application | Benefit |
|---|---|---|
| Photography timing | Arrive 45 minutes before sunrise for alpenglow | Captures peak color in a 7 to 20 minute window |
| Architectural framing | Sequence rooms to reveal views gradually | Prevents visual fatigue and makes views feel intentional |
| Landscaping depth | Use specimen trees and low walls as foreground brackets | Adds dimension and guides the eye toward peaks |
| Lighting control | Keep perimeter dark, focus light on gathering areas | Preserves night sky drama and eliminates glare |
| Water features | Infinity pool aligned with ridgeline | Visually extends the horizontal plane toward mountains |
Key takeaways
Maximizing mountain views requires combining precise photography timing, architectural sequencing, and landscaping depth to transform a passive scene into an active, daily experience.
| Point | Details |
|---|---|
| Arrive early for photography | Alpenglow lasts only 7 to 20 minutes; being on location 45 minutes before sunrise is non-negotiable. |
| Frame, don't clear | Specimen trees, low walls, and sculptural plantings add depth that makes views more compelling, not less. |
| Design a reveal sequence | Staging views through a series of spaces prevents visual overwhelm and keeps the experience fresh. |
| Control lighting at night | Keep perimeter areas dark and avoid lights near glass to preserve view drama after sunset. |
| Combine all three disciplines | Photography, architecture, and landscaping reinforce each other when planned together from the start. |
What I've learned from living with mountain views
Most people assume that more exposure to a great view means more enjoyment. My experience says the opposite. The views that stay with you are the ones you had to earn or wait for. A mountain panorama visible from every room of a house becomes wallpaper within a week. The same view glimpsed through a narrow window at the end of a hallway, then fully revealed when you step onto a terrace, hits differently every single time.
The hardest part of designing for mountain views is resisting the urge to maximize glass area at the expense of everything else. Privacy, thermal comfort, and glare control all suffer when a home is essentially a greenhouse facing a peak. The architects who get this right treat the view as a guest to be introduced thoughtfully, not a feature to be advertised on every surface.
For photography, the lesson I keep relearning is that patience is the actual skill. I have driven two hours to a location, set up in the dark, and watched the light completely fail to materialize. I have also arrived skeptical on an overcast morning and watched the clouds break at exactly the right moment to produce the best shot of the year. Weather apps help, but they do not replace the habit of simply showing up. The best times for mountain views are the ones you are present for, not the ones you planned perfectly.
— Rasmus
Experience mountain views designed to impress at Peach-residence
If you want to experience what thoughtful mountain-view design actually feels like before committing to a renovation or a photography expedition, Peach-residence in Palm Springs puts you in the middle of it.
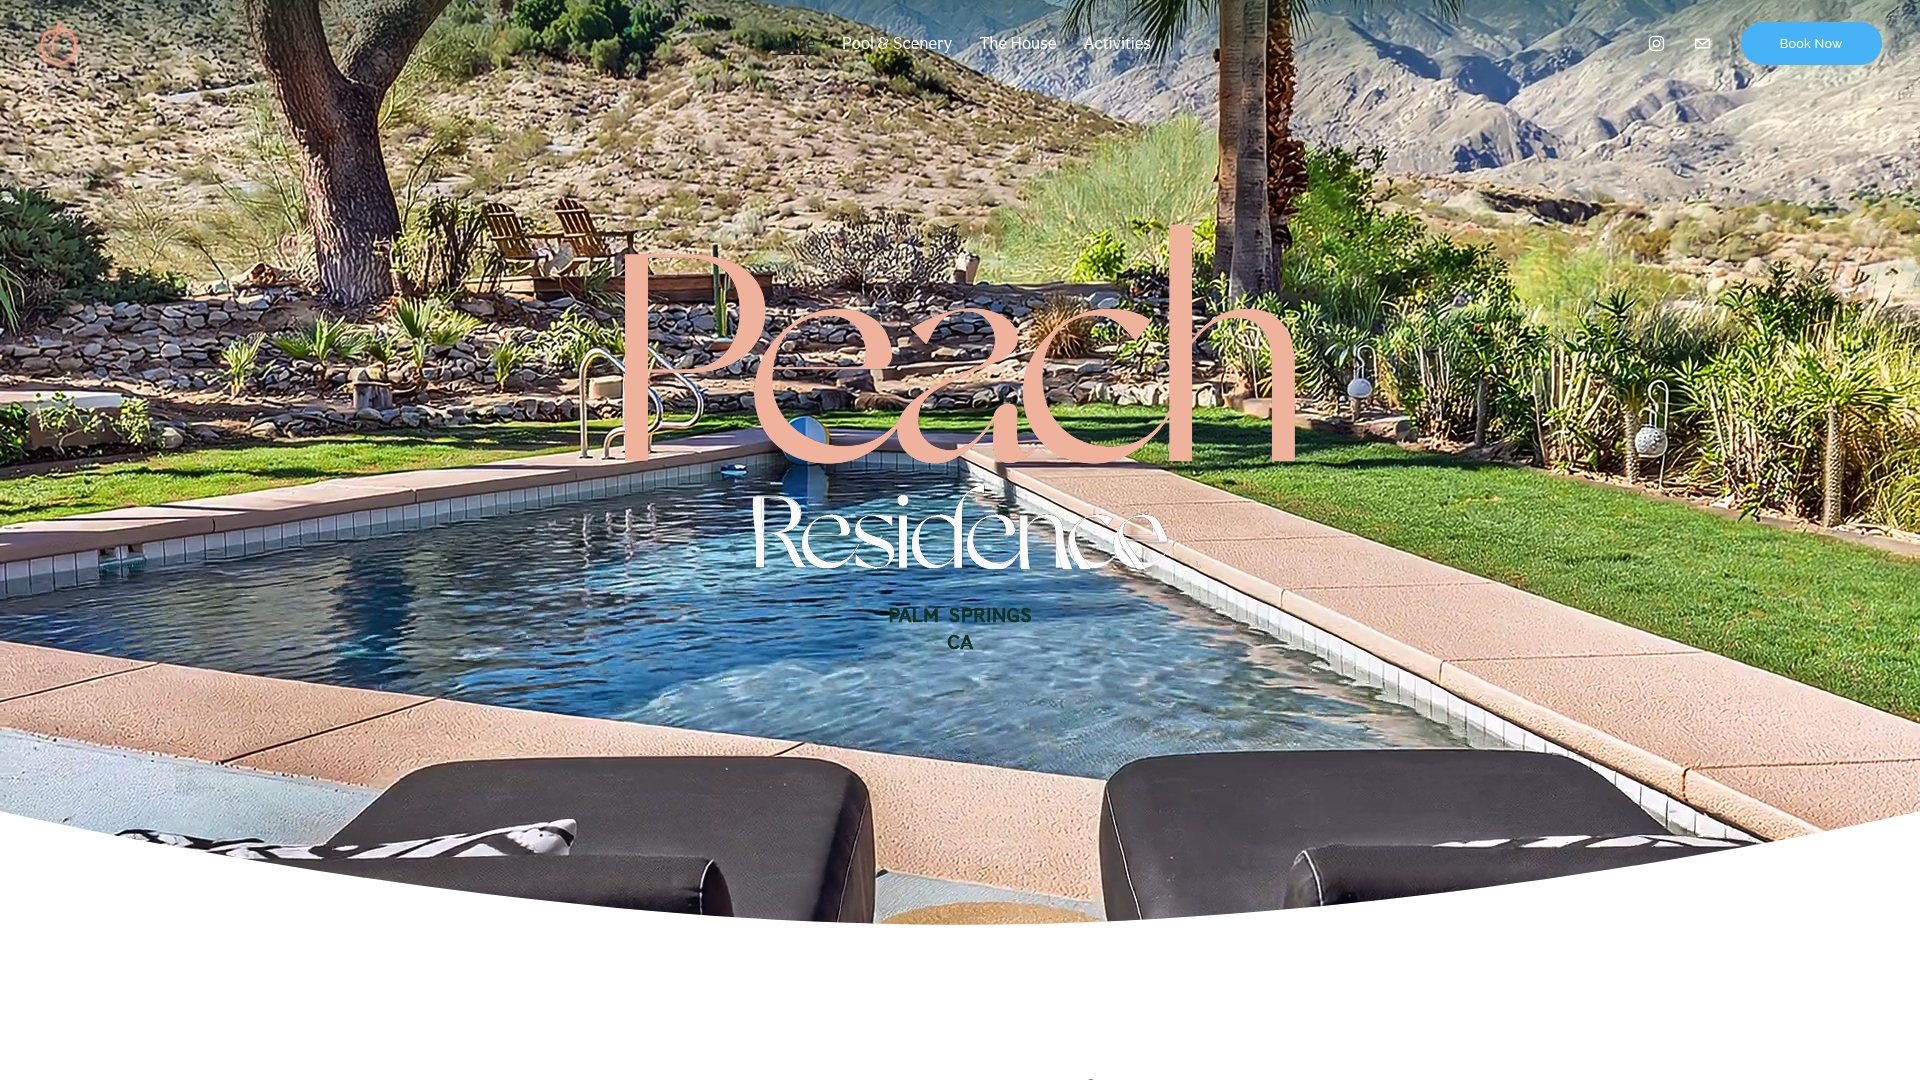
The property sits at the end of a cul-de-sac with one neighbor and zero light pollution, giving you unfiltered desert mountain drama from every outdoor space. Four bedrooms, floor-to-ceiling glass, and a fully committed indoor-outdoor layout mean the view is always present but never repetitive. Doors open, the breeze moves through, and the Santa Rosa Mountains do the rest. Book the house and see what a front-row seat to nature actually looks like, starting at $65 per person per night.
FAQ
What is the best time of day for mountain photography?
The optimal window is alpenglow, which occurs 7 to 20 minutes before sunrise. Arriving 45 minutes before sunrise gives you time to set up and meter the scene before the color peaks.
How do you frame mountain views in home design?
The most effective method is a gradual reveal sequence where rooms open progressively toward the view. Stepping volumes into hillsides and using selective glazing creates intentional vistas rather than constant panoramic exposure.
What landscaping elements enhance a mountain view?
Specimen trees at the edges of the view corridor, low stone walls, and infinity pools aligned with the ridgeline all add depth and framing. Avoid fast-growing trees planted directly in the primary sightline.
Why does lighting ruin mountain views at night?
Lights placed near glass fencing or transparent surfaces create glare and reflections that obscure the view after dark. Keeping the perimeter dim and focusing light on seating areas preserves the visual depth of the mountain horizon.
What camera filter is most useful for mountain photography?
A circular polarizer is the single most effective filter for mountain shots. It reduces atmospheric haze, deepens sky tones, and sharpens ridge texture in a way that post-processing cannot fully replicate.